2. Select Site ‘EDC Analytics’.
3. Navigate to Explore on the left panel.
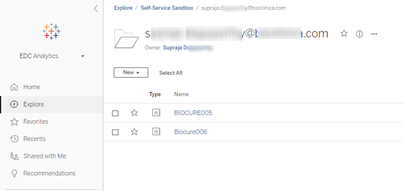
4. Navigate to Self-Service Sandbox Folder-> Click on User.
5. Click on user, you will be in username folder. Click on ‘New’ under username. Select Workbook. Refer to the image below.
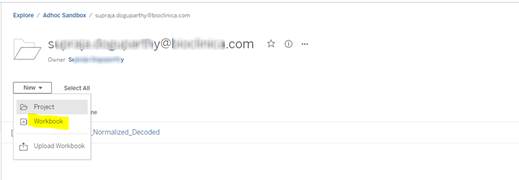
6. Click on Workbook. A new workbook opens. A window pops up to establish connection for workbook.
![]() IMPORTANT:
Only connections to EDC Analytics’ Snowflake database
IMPORTANT:
Only connections to EDC Analytics’ Snowflake database
are permitted.
CAUTION: Users are not permitted to upload *.csv files. If *.csv files are detected in the workbook, the user will be notified, and the workbook will be removed.
7. Go to Connectors->Snowflake. Enter below details for ‘Sign In’ to Snowflake.

a.
Server – use the URL that was provided
with your credentials.
b. Authentication – select ‘Sign in using user credentials.
8. Click on ‘Sign In‘ Button.
9. Click on ‘Sign In using your snowflake credentials’. Refer to image below.

10. Connection Established with Snowflake is successful.
11. Select Warehouse ‘WAREHOUSE_EDC_ANALYTICS_PRD’.
12. Select Database ‘BIOCLINICA_DB_PRD’.
13. Select any Schema from the list of User’s Choice.
a. Ex: STUDY_ BIOCURE005
14. Select any Table from the list of User’s Choice.
a. Ex: AE_MEDDRA_CODING
15. Connection name can be changed manually by selecting the highlighted area.

16. Navigate to Sheet1.
17. Create your own visual by dragging Fields to the sheet, see visual example below.

18. Create one more sheet like above with other Fields.
19. Create Dashboard by dragging 2 sheets to the view. Refer to the image below.
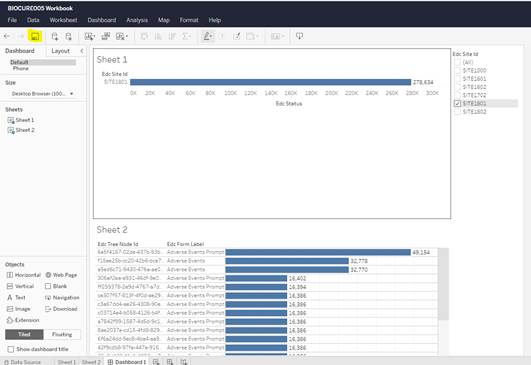
20. Click on Save Option on Top of workbook on Highlighted icon in above picture to Save Workbook. Or Click on File -> Save to save workbook.
21. Optionally, click in the check box to select “Embed password for data source” in Save Workbook dialog box (shown below). When this option is not selected, you may be prompted for password at a later time.

22. Workbook will be saved in User Folder.
23. *If the Embed Password option is not selected in data source, user can add it later by navigating to user folder.
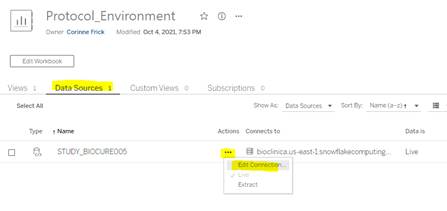
24. Click on the report and navigate to Data Sources tab as shown in the figure below.
25. Go
to Actions and click on 3 dots (![]() ) of
data source to embed the password as shown below.
) of
data source to embed the password as shown below.
26. NOTE: If the workbook will be shared for other users, the FIRST sheet in the workbook will be the default sheet shown when the workbook is open.
27. Navigate to User Folder.
28. Open
the saved workbook.
Related Topics